 Lynden Siding
 Building New in Nooksack? The Window Install Has to Be Right the First Time
New construction gives you one real shot at getting window installation right. Once the siding, trim, and interior finishes go on, the flashing details behind the window frame are buried for the life of the house. In Nooksack, where the ground stays saturated for long stretches of the year and wind-driven rain is a regular winter visitor, a sloppy or rushed window install doesn't show up as a problem on day one. It shows up two or three winters later as a soft spot under a sill, a musty smell in a bedroom wall, or moss creeping across trim that should have shed water cleanly.
We install new-construction windows as part of our siding and exterior work, not as a separate trade bolted on afterward. That matters, because the window opening, the weather-resistive barrier, the flashing, and the siding all have to work together as one water-management system. A window can be perfectly installed and still leak if the siding crew flashes around it wrong — or vice versa. When one crew handles both, there's no finger-pointing and no gap in the sequence.
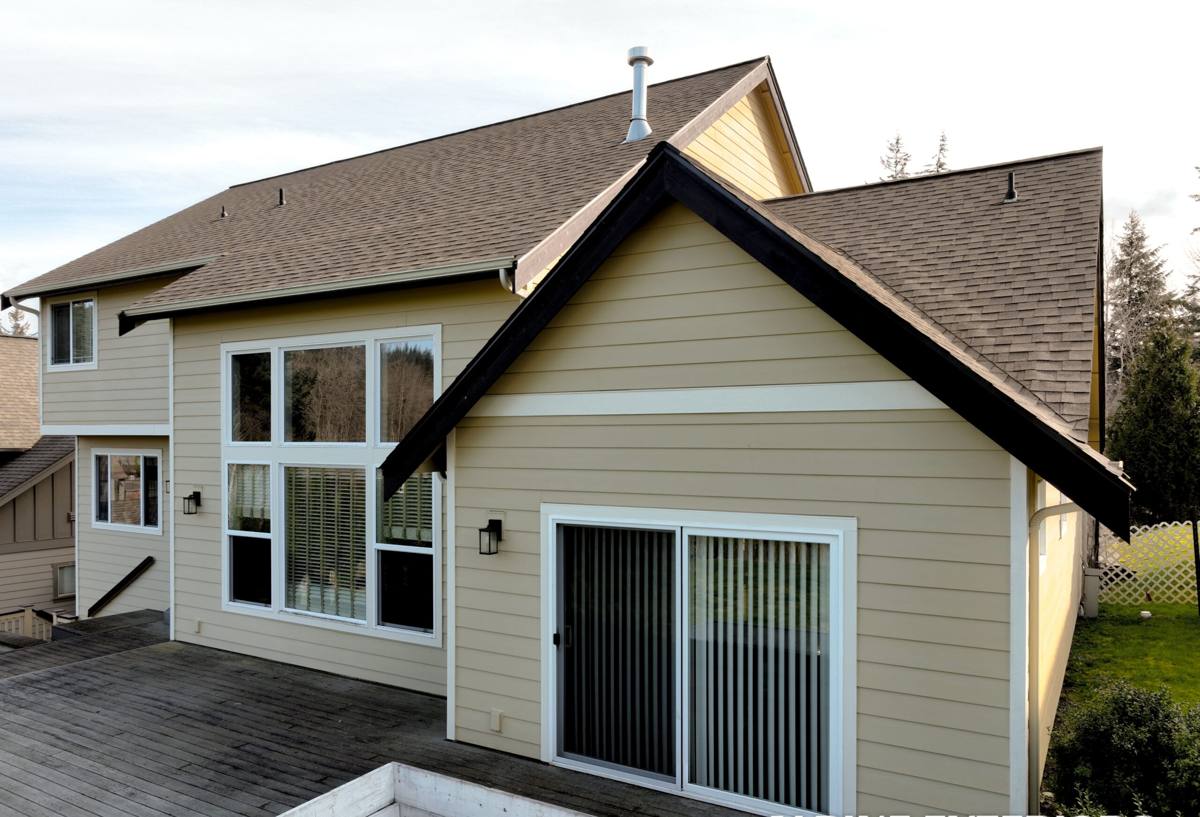
What "New Construction" Window Installation Actually Means
There's an important difference between a new-construction window install and a replacement or retrofit install, and it's worth understanding before you talk products or pricing.
- New-construction windows have a nailing fin (or flange) around the perimeter of the frame. They install directly against the wall sheathing, before or during the weather-resistive barrier and siding work, and the fin gets integrated into the drainage plane with flashing tape and overlapping building paper or house wrap.
- Replacement windows install into an existing finished opening, usually without disturbing the exterior siding, and rely on the old flashing and frame still doing their job.
Because you're building from scratch, you get to do this the correct way — full flashing integration, proper sill pans, and a continuous drainage plane — instead of working around decades of someone else's shortcuts. That's an advantage. It's also why the install needs to be done carefully; there's no old wall system to fall back on if a detail gets missed.
What Nooksack's Climate Actually Demands From a Window Install
Whatcom County sits in a maritime climate with a long wet season, and this stretch of the county — low-lying, river-adjacent, and exposed to weather systems moving in off the Sound and the Strait — gets more than its share of driving rain and standing moisture. A few things that matter specifically here:
Wind-driven rain, not just rainfall totals
It isn't just how much rain falls — it's how it arrives. Winter storms push rain sideways against west- and south-facing walls, forcing water up and under trim and window edges that would stay dry in a calm rain. Flashing has to be built to handle water moving upward and sideways, not just falling straight down.
Extended moisture exposure and moss
Long stretches of overcast, damp weather mean any spot on a house that stays wet longer than it should will grow moss, algae, or mildew. Around windows, that usually means sills, the bottom of trim boards, and anywhere caulk has failed and started holding water instead of shedding it. Correct flashing and drainage keep those areas drying out between rains instead of staying saturated.
Salt-tinged marine air
Air moving inland off Puget Sound and the Strait of Georgia carries salt content that accelerates corrosion on fasteners, hinges, and hardware — even well inland from the water. It's a good reason to use corrosion-resistant fasteners and flashing components rather than whatever is cheapest at the yard.
Ground moisture and foundation dampness
Nooksack's low elevation near the Nooksack River means many lots hold groundwater close to the surface. That doesn't change window flashing directly, but it's part of why the whole building envelope on a new build here needs to manage water aggressively — there's less margin for error than on a well-drained hillside lot.
The Correct Installation Sequence
A proper new-construction window install follows a specific order. Skipping or reversing steps is the single most common cause of window leaks we get called out to fix on other people's work.
- Rough opening check. Confirm the opening is square, plumb, and sized correctly with the right margin for shimming — before the window ever shows up on site.
- Sill pan flashing. A sloped, back-dammed sill pan goes in first, so any water that ever gets past the window has a built-in path back outside instead of into the framing.
- Weather-resistive barrier integration. House wrap or building paper is cut and lapped so water always sheds downward and outward — over the sill pan, behind the side flashing, and under the head flashing. This "shingle-lap" order is what actually stops leaks; it's not optional trim.
- Setting the window. The unit is set into the sill pan, shimmed level, plumb, and square, and fastened per the manufacturer's schedule — not just "enough nails to hold it."
- Side and head flashing. Flashing tape or metal flashing covers the nailing fin on the sides and top, integrated with the WRB in the correct overlap order.
- Sealant, not caulk-as-a-crutch. Sealant is used at specific joints per the manufacturer's instructions — it backs up the flashing, it doesn't replace it. A window that depends on caulk to stay dry will eventually leak once that caulk ages and cracks.
- Siding integration. Trim and siding are installed to shed water past the window assembly, with the same shingle-lap logic carried all the way down the wall.
Every one of these steps is either partially or fully hidden once siding goes on. This is why the crew doing the work — and their attention to a sequence that doesn't get inspected again — matters more than almost anything else in the process.
Choosing the Right Window for a Nooksack New Build
Frame material and glass package both affect how a window holds up to this climate and how it performs on your energy bills. There's no single "best" answer for every project — it depends on budget, style, and how exposed the wall is.
| Frame Material | Moisture Performance | Maintenance | Typical Cost Position |
|---|---|---|---|
| Vinyl | Good — won't rot, handles damp climates well | Low | Most affordable |
| Fiberglass | Excellent — very stable, resists warping in wet/dry cycles | Low | Mid to upper |
| Wood-clad | Good exterior protection, but interior wood core is sensitive to any flashing failure | Higher — periodic finish upkeep | Upper |
| Aluminum | Durable but conducts cold and can condense in our damp winters unless thermally broken | Low | Varies widely |
For most new construction in this part of Whatcom County, we lean toward vinyl or fiberglass frames with a glass package that meets or exceeds Washington's current energy code — low-E coated, argon-filled, dual or triple pane depending on orientation and budget. Wood-clad windows can look great and perform well too, but they raise the stakes on flashing quality, since a leak that reaches a wood core is a much bigger repair than a leak against a vinyl or fiberglass frame.
We're not tied to one manufacturer. That's intentional — it lets us match the window to the project instead of pushing whatever brand pays the best rebate. What we do insist on is a documented installation instruction sheet from the manufacturer for whatever unit goes in, since that's what protects the product warranty if a question ever comes up.
Working With Your Builder or GC
Most of our new-construction window work in Nooksack happens alongside a general contractor or on an owner-built home where we're brought in specifically for the exterior envelope. Either way, timing coordination matters:
- Windows typically get set after the WRB is on the wall but before siding starts — we coordinate directly with the framer and GC on scheduling so there's no gap where the house sits exposed to weather.
- We flag rough opening issues before install day, not after a window shows up and doesn't fit.
- We document flashing details with photos before they're covered by siding — useful for the builder's own records and for any future warranty question.
- We coordinate with whoever is doing the siding (often us, sometimes another crew) so the drainage plane is continuous from the window flashing down to the weep points at the base of the wall.
What a Rushed Install Costs You Later
A window installed out of sequence — sealant used instead of proper flashing laps, WRB not lapped correctly, or a missing sill pan — usually looks fine for a while. The problems that show up later are expensive precisely because they're hidden:
- Rot in the wall sheathing or framing around the opening, often not found until siding or interior trim is removed for another reason.
- Mold or mildew inside wall cavities, which can affect indoor air quality long before it's visible.
- Failed insulation performance once it's wet, which drives up heating costs in a house that's already dealing with a long Whatcom County heating season.
- Voided window warranties, since most manufacturers require installation per their instructions to honor a warranty claim.
Pre-Drywall Checklist for New-Construction Window Installation
If you're a homeowner working with a builder and want to know what to look for (or ask about) before walls close up, this is the short version of what we check on every opening:
- Rough opening is square, plumb, and correctly sized for the specified window unit
- Sill pan flashing is installed, sloped, and back-dammed
- WRB is lapped in the correct shingle order over the sill pan and under the head flashing
- Window is shimmed plumb, level, and square — not just nailed in place
- Fastening follows the manufacturer's schedule (spacing and fastener type)
- Side and head flashing fully cover the nailing fin with proper overlap
- Sealant is applied only at manufacturer-specified joints, not as a substitute for flashing
- Photos taken of flashing details before they're covered by siding
Why a Nooksack-Familiar Crew Matters
Window installation instructions look similar on paper everywhere in the country. What changes is how much margin for error the local climate gives you. A flashing detail that would hold up fine in a dry climate can fail here within a couple of wet seasons if it's not built for driving rain and prolonged dampness. A crew that works new construction regularly around Lynden and Nooksack has already seen which details actually matter in this weather versus which ones are just code minimums — and builds to the higher standard by default, not as an upcharge.
If you're planning a new build in Nooksack and want the window installation handled as part of a coordinated, weathertight exterior — not a separate trade with its own gaps — we're glad to walk the plans with you and give you a straightforward, no-pressure estimate. There's a form below to get started.