 Lynden Siding
 Why Siding Around Bellingham and Lynden Wears Differently
Whatcom County sits where marine air off Bellingham Bay meets a long, wet Pacific Northwest winter, and that combination is hard on exterior siding in ways that inland climates never see. Homes closer to the water pick up salt-laden air that accelerates corrosion on fasteners, flashing, and any exposed metal trim. Add driving, wind-blown rain that hits siding at an angle instead of straight down, and you get moisture pushed into seams, laps, and butt joints that a calmer climate would never test. Then there's moss season, which in this part of Washington isn't really a season at all — it's most of the year. Shaded north walls, tree-lined lots, and mild temperatures let moss and algae take hold on siding, trim, and fascia and stay there, holding moisture against the surface long after a storm has passed.
None of that means siding fails fast here. It means small problems — a cracked board, a gap in caulking, a piece of trim that's pulled loose — don't stay small. They become entry points for water, and water damage behind siding is almost always worse than what you can see from the driveway. That's the core reason a repair job in Bellingham or Lynden needs to be diagnosed carefully, not just patched on the surface.
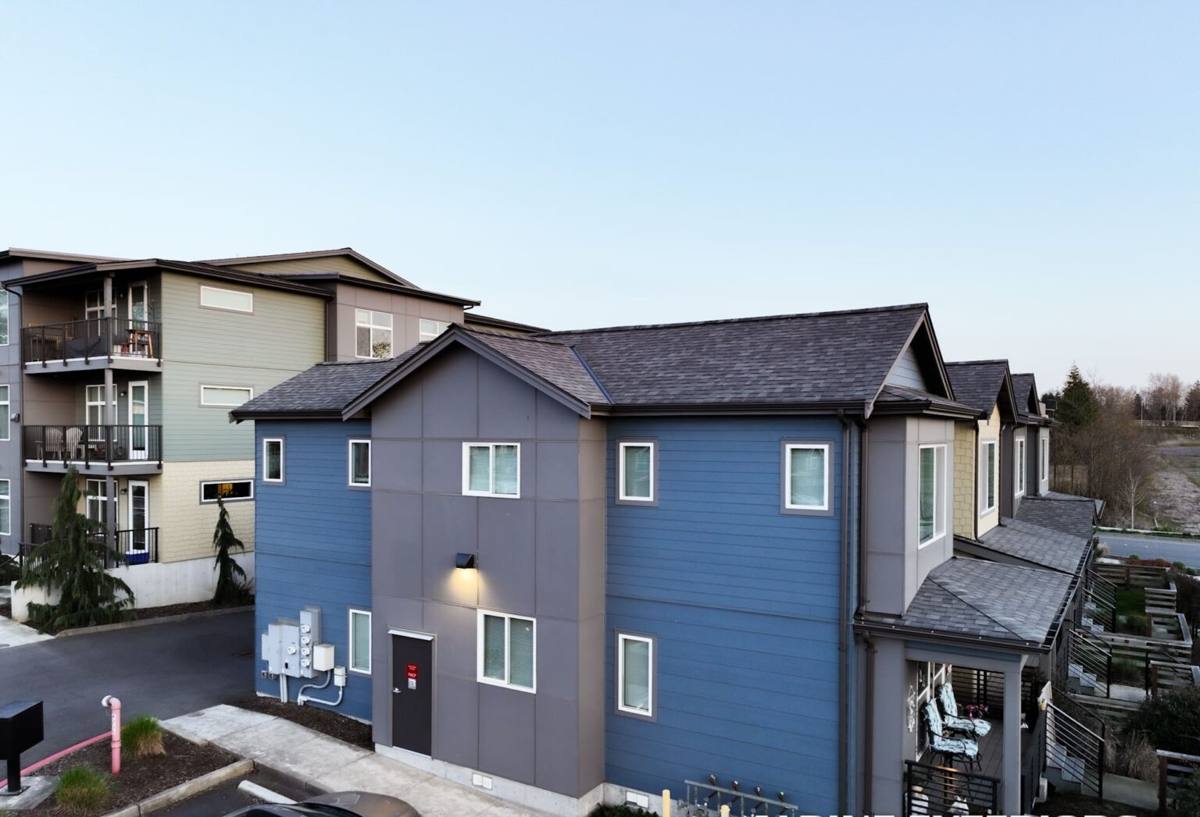
Signs Your Siding Needs Repair, Not Just a Cleaning
A lot of siding issues in this area get mistaken for cosmetic problems when they're actually early warnings. Worth a closer look if you're seeing:
- Soft or spongy spots when you press on a wall, especially near the bottom courses or under windows
- Paint that's bubbling, peeling, or discoloring in one localized area rather than evenly across the wall
- Persistent moss or algae growth that comes back within weeks of being cleaned off
- Visible gaps, cracks, or warping at panel seams, corners, or butt joints
- Rust streaks below nail heads or metal trim, more common on walls facing prevailing weather
- A musty smell in an adjacent room, or interior drywall staining near an exterior wall
- Siding that's pulled away slightly from the wall, leaving a visible shadow line or gap
Any one of these can be minor. Several together, or any sign paired with interior symptoms, usually means moisture has already gotten past the siding and into the wall assembly — and that changes the scope of the repair.
What a Correct Repair Actually Involves
Diagnosis before demolition
The single biggest difference between a repair that lasts and one that fails again in a year is what happens before any siding comes off. A proper repair starts with figuring out why that section failed in the first place — bad flashing, a caulking joint that opened up, an installation gap that let wind-driven rain track behind the panel, or trapped moisture from inadequate ventilation. Replacing a damaged board without addressing the cause just resets the clock on the same failure.
Checking what's behind the siding
Once a damaged section is opened up, we check the water-resistive barrier, flashing, and sheathing underneath before anything new goes back on. In a climate that sees as much driving rain as this one does, it's common to find that the visible siding damage is smaller than what's happened behind it. Soft sheathing, saturated insulation, or failed house wrap need to be addressed as part of the repair — not covered back up.
Matching materials and finish
Repairs should blend in, not stand out. That means matching board profile, reveal, and finish as closely as possible, and being upfront with the homeowner when an exact match isn't realistic — older siding fades and weathers over time, and a brand-new patch next to a 15-year-old wall will always look slightly different for a while.
Sealing and flashing done right
The repair isn't finished when the new piece is nailed on. Proper flashing at seams, penetrations, and transitions, plus correctly applied sealant at joints (not as a substitute for flashing), is what keeps the next round of driving rain out.
Repair Approach by Siding Type
What a repair involves — and how well it holds up afterward — depends heavily on what's already on the house. We work on existing siding of all types, and the right approach differs quite a bit between them.
| Siding Type | Common Failure Points | Repair Considerations |
|---|---|---|
| Vinyl | Cracking in cold snaps, warping near heat sources, panels popped loose in wind | Sections snap in/out relatively easily, but discontinued colors can be hard to match years later |
| Cedar / wood | Rot at butt joints and bottom courses, moss holding moisture against the grain | Often requires checking sheathing underneath; repeated repairs signal it may be past its useful life |
| LP SmartSide (engineered wood) | Edge swelling where cut ends or seams weren't properly sealed at installation | Swollen sections generally need full board replacement, not a patch — swelling doesn't reverse |
| Fiber cement (James Hardie) | Caulking failure at joints, impact damage, flashing issues at trim | The cement substrate itself resists moisture and rot; most repairs are localized to the damaged board or joint |
This is also where the material choice we've standardized on shows its value. James Hardie fiber cement doesn't swell, rot, or absorb water into the substrate the way wood-based products can, so when it does need a repair, that repair tends to be smaller and more contained. It's part of why, when a section of siding is too far gone to patch, we replace it with Hardie rather than matching the original material.
Repair vs. Replace: Making the Honest Call
Not every damaged section should be patched, and not every damaged wall needs full replacement. A homeowner deserves a straight answer either way, based on a few practical questions:
- Is the damage isolated or spreading? One bad board near a downspout is a repair. Similar damage showing up on multiple walls usually points to a systemic issue — often an original installation problem — worth addressing more broadly.
- What's the condition behind the siding? If sheathing or framing is compromised in the repair area, that gets fixed regardless of what happens with the siding above it.
- How old is the existing siding? Siding nearing the end of its expected service life often isn't worth repeated patch repairs — the next issue is usually close behind.
- Will the repair actually blend in? Discontinued colors or profiles sometimes make a "successful" repair look worse than the damage it fixed.
We'll tell you plainly when a patch is the right call and when it isn't. A repair that's likely to need redoing in two years isn't doing you any favors.
Our Process for Bellingham and Lynden Repair Work
We keep the repair process straightforward and don't start cutting into a wall until we know what we're dealing with:
- On-site inspection. We look at the damaged area, check for soft spots and moisture intrusion, and identify the likely cause rather than just the symptom.
- Straight assessment. You get a clear explanation of what we found, whether it's a contained repair or something larger, and what it will take to fix it correctly.
- Scoped repair plan. We outline exactly which sections come off, what gets checked underneath, and what materials and finish will be used to match the existing wall as closely as possible.
- The repair itself. Damaged material comes out, the wall assembly underneath gets addressed if needed, and new material goes back in with proper flashing and sealing — not just face-nailed over the gap.
- Final check. We walk the repair with you before we consider the job done, including how it looks from a normal viewing distance, not just up close.
Why the Coastal and Rain Conditions Change the Standard
A repair technique that holds up fine in a dry climate can fail within a year or two here. Salt-influenced air corrodes uncoated or under-spec fasteners faster, so we use fasteners rated for the exposure. Driving rain means flashing details at repair seams matter more than they would in a region with mostly vertical rainfall — a repair that only accounts for water falling straight down will leak the first time wind pushes rain sideways into a joint. And because moss and algae growth is close to constant on shaded walls in this area, we factor drainage and airflow into repairs on north-facing and tree-shaded sections, not just on the sunny side of the house.
Why Local Experience on This Repair Type Matters
A siding repair crew that mostly works drier inland climates will diagnose Whatcom County damage differently than one that sees this weather pattern every week. Knowing which wall orientations in Bellingham and Lynden tend to take the worst of the driving rain, which siding materials handle the salt-air and moss cycle well versus poorly over time, and what a repair actually needs to survive a full Pacific Northwest winter isn't something you get from a general repair checklist — it comes from doing this work in this climate, on this kind of housing stock, repeatedly.
Before hiring anyone for a siding repair, it's worth asking a few direct questions:
- Will you check what's behind the damaged siding, not just replace what's visible?
- Can you explain why this section failed, not just what you're going to do about it?
- What fastener and flashing materials do you use, and are they rated for coastal exposure?
- Will the repair be under warranty, and for how long?
- Have you worked on homes in this specific area before?
A contractor who can answer those clearly, without hedging, is one worth trusting with the job.
Get a Straight Answer About Your Siding
If you're seeing signs of siding damage on a home in Bellingham or Lynden, it's worth getting it looked at before the next round of fall rain finds the gap. We'll give you an honest read on what's actually happening, what it will take to fix it right, and what it will cost — no pressure, no upsell. Request a free estimate below and we'll take a look.