 Lynden Siding
 Building New Near Aldergrove, BC Means Getting the Windows Right the First Time
When a home is going up from the ground, there's a narrow window — literally and figuratively — where the window openings are exposed, the weather-resistive barrier is on, and the framing crew, siding crew, and window installer all have to coordinate before the walls close up. Get that sequencing wrong, and the mistake gets buried behind drywall and trim for the life of the house. In this part of Whatcom County and the adjacent Fraser Valley, that first-time-right requirement matters more than in drier climates. Homes here sit close enough to Puget Sound and the Strait of Georgia that marine air carries salt inland even well away from the water, driving rain comes in sideways during fall and winter storms, and a long, damp moss season keeps north-facing walls and sills wet for months at a stretch. New-construction windows in Aldergrove, BC and the surrounding Lynden area need to be installed with that reality in mind from the first rough opening.
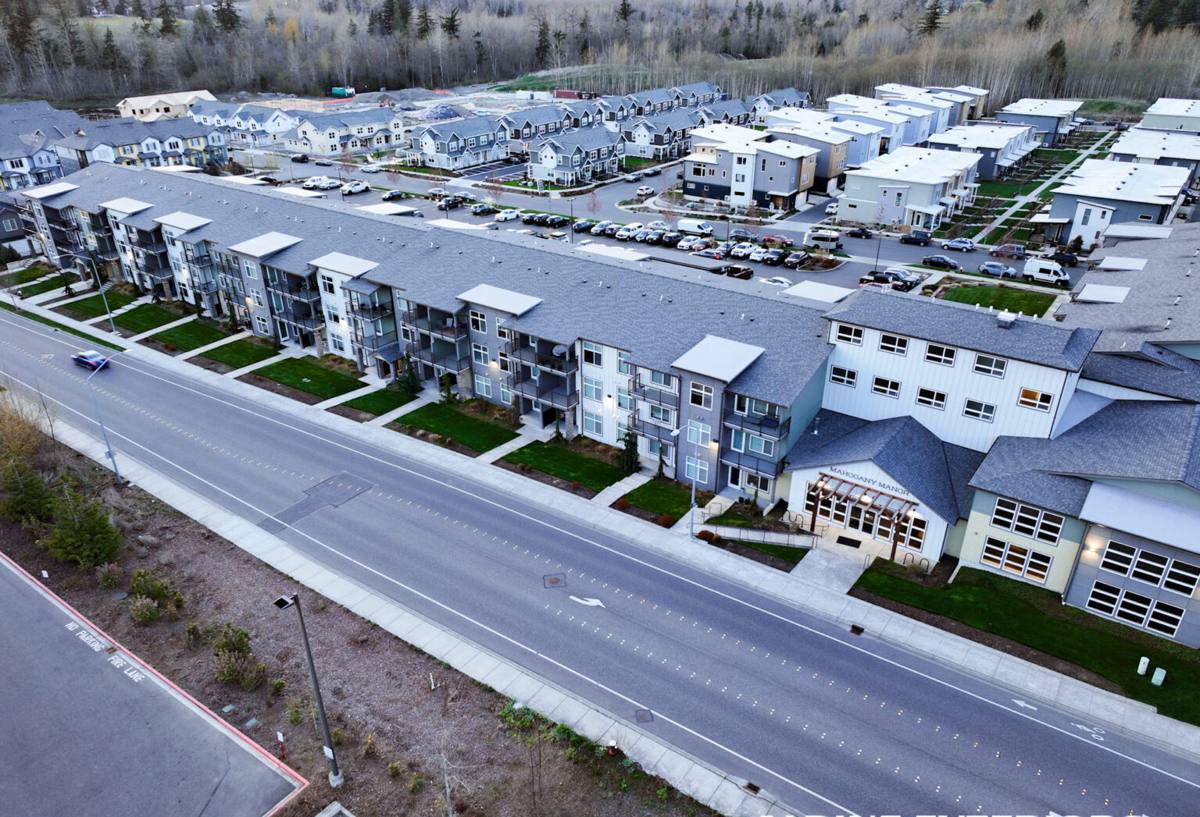
New-Construction Windows Are a Different Job Than Replacements
Replacing a window in an existing wall means working around finished siding, existing trim, and a wall that's already dried in. New construction is the opposite: the opening is raw, the sheathing and weather barrier are exposed, and the window has to be integrated into the drainage plane before any finish material goes on. That's an advantage if it's done correctly — there's no old caulk or damaged sheathing to work around — but it also means there's no margin for skipping steps. A new-construction window is installed with a nailing fin fastened directly to the sheathing, and the flashing sequence around it becomes a permanent part of how water moves down and off the wall. On a replacement, a rushed job might leak in five years. On new construction, a rushed job can trap water inside the wall cavity from day one, and in a climate with this much annual rainfall, that's the kind of mistake that shows up as rot long before anyone notices a drip inside.
What a Correct New-Construction Window Installation Actually Involves
Rough Opening and Flashing Sequence
Everything starts with an opening cut to the right size with square corners and a level sill — not "close enough." The flashing goes on in a specific order so that each layer sheds water onto the layer below it, the same way shingles work on a roof: sill pan first, then the window, then side flashing, then head flashing lapped over the weather-resistive barrier. Reverse that order or skip a layer, and water gets directed into the wall instead of away from it.
Sill Pan and Drainage
The sill pan is the single most important piece of a new-construction window install and the one most often shortchanged on production builds. It creates a sloped, waterproof pan under the window unit so that any water that does get past the glazing or frame has somewhere to go — outward, not into the framing. In a climate with prolonged rain events, a missing or poorly sloped sill pan is often the root cause when a "brand new" window starts showing staining or soft trim a few years later.
Fastening and Weather-Barrier Integration
The nailing fin has to be fastened at the manufacturer's specified spacing, and the housewrap or building paper has to be shingle-lapped over the fin — never taped in a way that traps water behind it. This is also the point where the window gets tied into whatever siding system is going over it, which matters a lot when the same crew is handling both the windows and the exterior cladding.
Sealing, Backer Rod, and Insulation
Interior sealing uses backer rod and a compatible sealant, plus low-expansion foam or mineral wool around the frame — not a bead of caulk as the only line of defense. Done right, this stage also improves the home's air-sealing, which matters for energy performance on both sides of the border.
Choosing Window Materials for a Wet, Salt-Tinged Climate
Material choice matters as much as installation technique once the home is enclosed and the windows are living through their first few winters of driving rain and moss-season dampness. There's no single right answer for every project — it depends on budget, the home's design, and how much upkeep the owner wants to take on.
| Frame Material | Moisture Tolerance | Maintenance | Typical Fit |
|---|---|---|---|
| Vinyl | Good — won't rot, some UV/color fading over decades | Low | Most new builds; strong value |
| Fiberglass | Very good — dimensionally stable in temperature swings | Low | Larger openings, higher-end builds |
| Wood-clad | Depends heavily on cladding and installation quality | Higher — cladding seams need monitoring | Traditional or higher-end aesthetic |
| Aluminum | Prone to condensation without thermal breaks | Low | Commercial or specific architectural styles |
Whatever frame material a homeowner chooses, we pay close attention to the glazing package. A double-pane, low-E unit with a warm-edge spacer holds up well here, and for exposures that take the worst of the driving rain — typically west- and south-facing walls — we'll talk through whether a higher-performance glazing option is worth the upgrade for that elevation specifically, rather than upgrading the whole house by default.
A Few Realities of Building Right on the Border
Aldergrove, BC sits close enough to Lynden that a lot of building material and trade knowledge crosses the border in both directions, but the two sides aren't identical. British Columbia's building code and energy requirements are administered separately from Washington's, and BC's energy step code framework often pushes new construction toward better window performance targets than a comparable Washington build might require by code minimum alone. That doesn't mean everything needs to be over-specified — it means the window package and installation details should be matched to whichever jurisdiction's requirements actually apply to that specific lot, and confirmed with the builder or local building department rather than assumed. Material lead times can also run longer on cross-border orders, so ordering windows early in the framing schedule avoids holding up the rest of the build.
How We Handle a New-Construction Window Job
- Review the plans and rough openings with the builder before framing is finalized, so window sizes and structural headers line up correctly.
- Confirm window specs, glazing package, and lead times early enough to avoid delaying the schedule.
- Inspect rough openings for square, level, and correct sheathing before any window goes in.
- Install sill pan flashing, set the window, then complete the side and head flashing in the correct shingle-lap order.
- Integrate the weather-resistive barrier and coordinate directly with the siding installation that follows.
- Seal and insulate the interior perimeter, then walk the exterior for a final check before cladding goes on.
Because we handle windows and siding as one connected job rather than two separate trades passing a wall back and forth, there's no gap where responsibility for the flashing detail gets unclear.
Mistakes We Watch For on New Builds in This Area
- Sill pans skipped or installed flat instead of sloped to drain
- Housewrap taped over the nailing fin instead of lapped correctly, trapping water behind it
- Head flashing left off or not extended past the side flashing
- Fastener spacing too wide, leaving the window loose in a wind-driven rain event
- Interior sealant used as the only water defense, with no backer rod or exterior flashing to back it up
- North-facing or shaded openings finished without extra attention to the moss and algae growth that thrives there for much of the year
Why It Helps to Hire a Crew That Already Works This Area
A window installed correctly on paper can still fail in practice if the crew doesn't understand how wind-driven rain actually hits a specific elevation, or how long moss and moisture sit on a shaded north wall through a Pacific Northwest winter. Crews that already work Lynden and the Aldergrove, BC area have seen how these homes perform through multiple wet seasons, not just how they look on installation day. That experience shows up in small decisions — which elevations get extra flashing attention, how sill pans get detailed on a stucco versus a fiber-cement wall, when a glazing upgrade is worth it and when it isn't — that don't show up in a spec sheet but do show up in how the house holds up ten winters later.
If you're framing up a new home in or near Aldergrove, BC, or working with a builder in the Lynden area, we're glad to walk the plans with you and put together a free, no-pressure estimate for the window installation — just fill out the form below and we'll follow up.