 Lynden Siding
 Building New in Birch Bay Means Building for the Weather You Actually Get
Birch Bay sits right on the water, and that changes what a window needs to do compared to a house a few miles inland in Lynden. Salt-laden air moves in off the bay and settles on everything, wind-driven rain comes in sideways during winter storms, and the damp, shaded stretches of the property spend months in moss-friendly conditions. A new-construction window package that works fine in a dry inland subdivision can start showing corrosion, seal failure, or water intrusion within a few years out here if it wasn't chosen and installed with the bay in mind.
When we install windows on new builds in Birch Bay, we're not just setting units into rough openings. We're making decisions about frame material, hardware finish, glazing, and flashing sequence that account for salt exposure and sustained moisture — the two things that do the most long-term damage to windows in this part of Whatcom County.
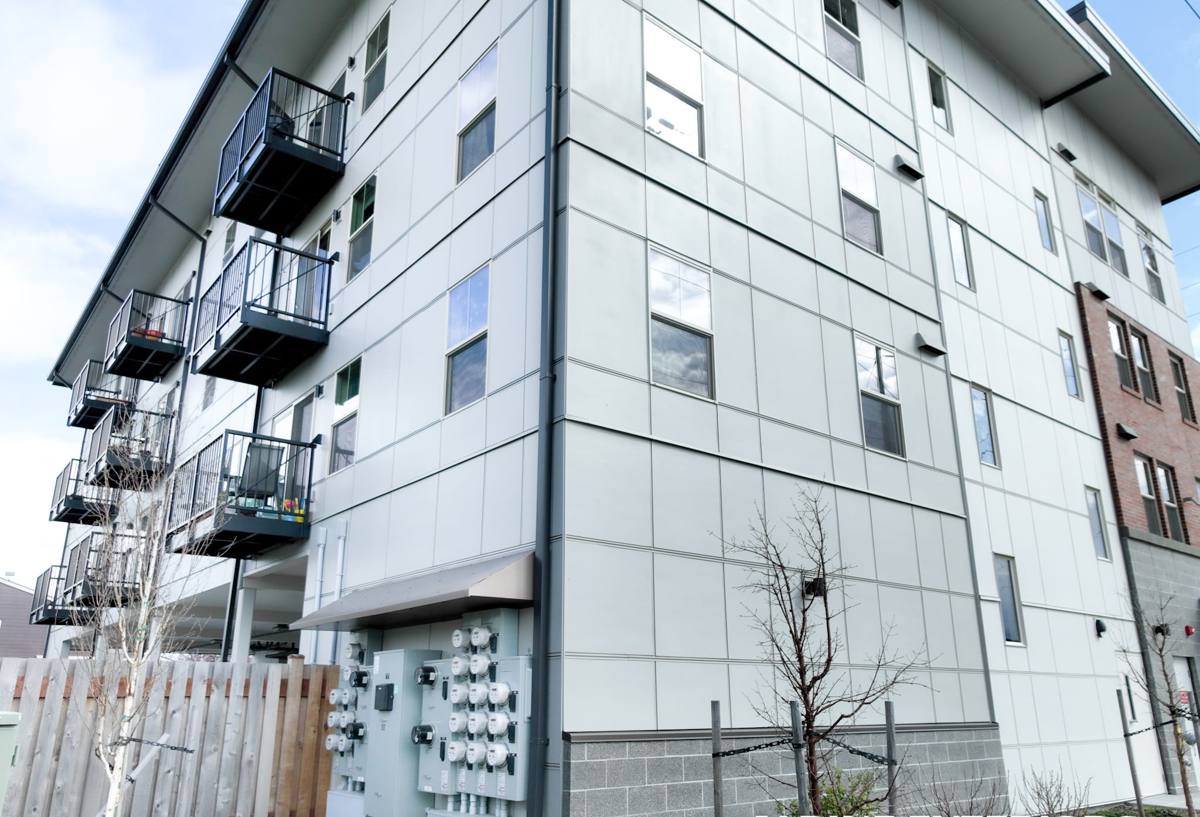
New Construction Is a Different Job Than Replacement — Here's Why That Matters
New-construction windows have a nailing fin and get integrated into the wall's water-resistive barrier (WRB) during framing, before siding goes on. That's a real advantage: we control the flashing sequence from the sheathing out, instead of working around existing siding and trim like we do on retrofit jobs. Done right, this produces a tighter, more durable water-management system than almost any replacement scenario can achieve.
But it also means there's no margin for skipped steps. On a replacement, a flashing mistake often shows up as a leak you can trace and fix. On new construction, a flashing mistake gets buried behind siding and trim, and it can sit there quietly directing water into the wall assembly for years before anyone notices — usually as rot, not a visible leak. This is the single biggest reason the installation crew matters as much as the window brand.
What "Correct" Looks Like on a New-Construction Opening
- Sill pan flashing installed before the window, sloped to drain outward, not just a flat strip
- Window set into the pan on the manufacturer's specified shims, checked for level, plumb, and square
- Head flashing installed last, lapped over the WRB above the opening — never tucked under it
- Side flashing lapped correctly over the sill pan and under the head flashing, shingle-style
- Continuous bead of compatible sealant at the nailing fin, not a substitute for proper flashing laps
- WRB integration tied back into the building wrap with tape rated for the substrate
What Salt Air and Driving Rain Actually Do to a Window Over Time
Salt air is corrosive to unprotected metal. Cheaper hardware, exposed fasteners, and some aluminum components can pit or corrode faster near the water than they would in Lynden proper, a few miles inland. That doesn't mean aluminum-clad or metal-hardware windows are off the table in Birch Bay — it means we pay attention to cladding quality, hardware finish, and whether exposed metal parts are rated for coastal exposure.
Driving rain is the other half of the equation. Wind off the bay can push rain sideways into a wall assembly with real force, well beyond what a standard vertical-rain assumption accounts for. That's why sill pan flashing with a real drainage path, not just a taped seam, is non-negotiable on these builds. We treat every Birch Bay opening as if it will see driving rain at some point, because it will.
Moss and sustained dampness are more of a long-game concern. Shaded elevations and north-facing walls stay damp longer after a storm, which means trim, sills, and any exposed wood detailing need finishes and clearances that shed water instead of holding it. A window that's flashed correctly but trimmed with the wrong wood detail can still end up with soft, mossy sills within a few years.
Frame Material: What Actually Holds Up on a Bay-Facing Build
| Frame Type | Salt Air / Coastal Fit | Maintenance | Typical Trade-Off |
|---|---|---|---|
| Vinyl | Good — inert to salt corrosion | Low; occasional cleaning | Fewer color/profile options for larger new-construction openings |
| Fiberglass | Very good — dimensionally stable, resists corrosion | Low | Higher upfront cost |
| Aluminum-clad wood | Depends on cladding quality and hardware finish | Moderate — exposed wood interior needs periodic attention | Best appearance/sightlines, higher cost, more sensitive to installation quality |
| Bare aluminum | Weaker — prone to pitting near salt air over time | Higher — needs monitoring for corrosion | Lower upfront cost, shorter realistic lifespan this close to the bay |
We don't push one frame material as "the" answer for every Birch Bay build. We do steer clients away from bare aluminum on bay-facing elevations specifically because of corrosion risk, and we're upfront when a builder wants to save money there — it's a maintenance and longevity trade-off, not a defect in the product itself.
Glass Packages Worth Discussing for This Location
Standard double-pane, low-E glass is adequate for most interior rooms on an inland lot. For Birch Bay, a few upgrades are worth pricing out during design rather than after the walls are closed in:
- Impact-resistant or laminated glass on ground-floor or exposed elevations that take the brunt of wind-driven debris in winter storms
- Higher-performance low-E coatings to manage solar gain on south and west exposures over the water
- Upgraded weatherstripping and multi-point locking hardware on operable units facing prevailing wind, for a tighter seal against driving rain
None of these are mandatory. They're decisions best made with actual sightlines and elevations in front of us, not a blanket recommendation applied to every window on the house.
Our Process on a New-Construction Window Install
- Plan review: we look at rough openings, elevations, and window schedule before the units are ordered, and flag anything that doesn't match manufacturer specs for the opening.
- WRB and flashing prep: sill pans installed and sloped before any window goes in — this step gets photographed for our own records on every job.
- Setting the units: checked for level, plumb, square, and proper shimming at every point the manufacturer specifies, not just the corners.
- Flashing integration: head and side flashing lapped in the correct order and tied into the WRB, sealant used to supplement flashing, never to replace it.
- Final check: operation, seal, and hardware function verified on every window before we sign off, with a walkthrough for the builder or homeowner.
Cost Factors on a Birch Bay New-Construction Window Package
Pricing on a whole-house new-construction window package depends on more than the number of openings. The factors that move the number most in this area are:
- Frame material chosen per elevation (mixing vinyl on less-exposed sides with fiberglass or clad-wood on the bay-facing side is common)
- Size and count of large or specialty units — picture windows, sliders, and corner units cost more to flash correctly
- Glass upgrades (impact-resistant, enhanced low-E) if selected
- Site access and staging, which can matter more on some Birch Bay lots than on a standard Lynden in-town lot
- Timing relative to the framing schedule — coordinating window delivery and install with the builder's sequence to avoid open-wall delays
We give straightforward, itemized numbers rather than one lump figure, so a builder or homeowner can see exactly what's driving the cost on each elevation.
Why the Installing Crew Matters More Than the Window Brand
Almost every reputable window manufacturer builds a product that will perform well if it's installed correctly. The failures we get called to look at in Whatcom County are overwhelmingly installation failures — a missing sill pan, reversed flashing laps, sealant used in place of proper flashing — not product failures. That gap matters more in a place like Birch Bay, where driving rain and salt air will find any weak point in the water-management sequence faster than they would inland.
A crew that already works this stretch of coastline knows which elevations take the worst of the weather, which flashing details actually hold up here, and which frame and hardware choices are worth the extra cost versus which upgrades are optional. That's not something you get from a general framing crew installing windows as one more task on the list — it's familiarity built from doing this specific work, on this specific coastline, repeatedly.
Get a Straight Answer on Your Window Package
If you're building new in Birch Bay or elsewhere around Lynden and want a clear, itemized look at window options, frame materials, and what the flashing plan should look like for your specific lot, we're happy to walk through it with you. Reach out for a free, no-pressure estimate using the form below — no obligation, just a straight assessment of what your build needs.