 Lynden Siding
 Why Aldergrove Homes Go Through Siding Faster Than People Expect
Aldergrove sits in a stretch of the Pacific Northwest where the weather doesn't take days off. Moisture-laden air moves in off the water and pushes inland, driving rain into every seam, lap, and fastener hole a siding installer left less than perfect. Add a moss season that can stretch for months out of the year, and you have a climate that is quietly hard on exterior cladding even when nothing looks wrong from the street.
Salt-tinged coastal air doesn't just affect homes right on the water. It travels, and over years it accelerates corrosion on fasteners, trim flashing, and any siding product that wasn't engineered to shrug it off. Combine that with the near-constant dampness that lets moss and algae colonize a north-facing wall, and you get a wear pattern that's different from what you'd see in a drier inland climate. Siding here doesn't usually fail all at once — it fails at the edges first: butt joints that were caulked instead of flashed, corners that trapped water, and low spots where moss held moisture against the wall for weeks at a time.
This is the backdrop for every siding replacement decision in this area. It's not about picking a product that looks good on day one. It's about picking a product and an installation method that will still be doing its job in year fifteen, after another dozen wet Whatcom-Fraser Valley winters.
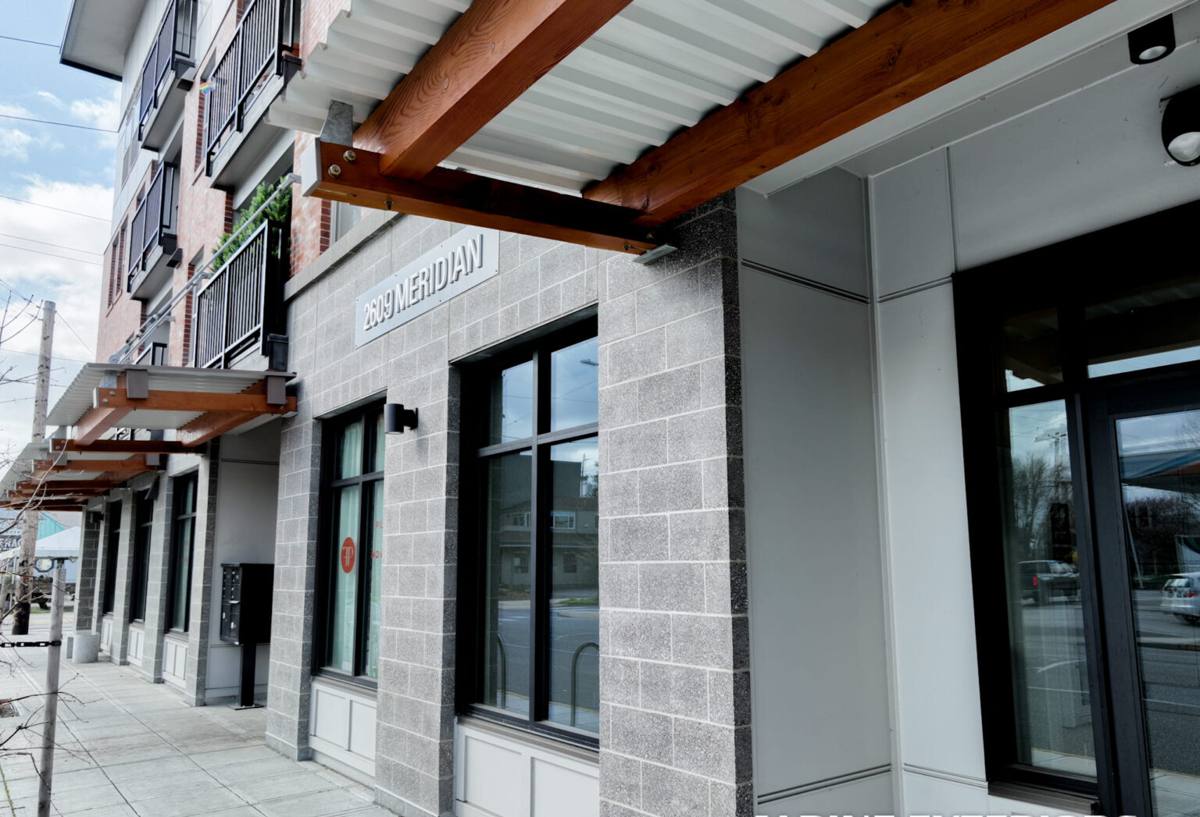
Signs Your Siding Has Crossed From "Aging" to "Replace It"
Not every problem means a full tear-off. But there's a point where patching stops making sense — where the cost of repeated repairs, the risk of hidden damage, and the diminishing returns of touch-up paint all point toward a full replacement instead. Here's what that usually looks like:
- Soft or spongy spots when you press on the siding, especially near the bottom courses and around window trim
- Persistent moss or dark streaking that comes back within a season or two of cleaning
- Paint that won't hold anymore — it's bubbling, peeling, or chalking faster than a normal repaint cycle
- Visible cupping, warping, or delamination, particularly on wood-based or engineered wood products
- Cracks at butt joints or corners that keep reopening after caulking
- Rising energy bills paired with drafts, which often points to a compromised weather barrier behind the cladding
- Any sign of rot or staining on interior walls that back onto exterior siding
If you're seeing two or more of these at once, it's worth having someone look at the wall assembly itself, not just the visible siding — because by the time siding shows these signs, the sheathing behind it has often been absorbing moisture for a while.
What a Correct Siding Replacement Actually Involves
A siding replacement is not "take the old stuff off, put new stuff on." Done right, it's a rebuild of the entire water-management system on the exterior of your home. Skipping steps here is exactly how a home ends up back in the "replace it" category ten years early.
Tear-Off and Inspection
Removing the old siding is also the only chance to actually see what's happening underneath it. A responsible crew inspects the sheathing for soft spots, checks window and door flashing for gaps, and flags any framing damage before a single new panel goes up. This step matters more in a climate like this one than almost anywhere else, because water intrusion that's been slowly working behind old siding for years often isn't visible until the old cladding comes off.
Water-Resistive Barrier and Flashing
Everything behind the visible siding — the housewrap or building paper, the window and door flashing, the kick-out flashing at roof-wall intersections — has to be installed so water sheds down and out, never sideways into a seam or trapped behind a lap. In a region with this much driving rain, a weather-resistive barrier installed with proper overlaps and taped seams isn't optional detailing; it's the difference between a wall that dries out and one that stays damp.
Fastening, Clearances, and Ventilation
Correct fastener spacing and type, proper clearance between the siding and grade, deck surfaces, and roof lines, and a ventilated gap where the assembly calls for one — these are the details that keep moisture from getting trapped against the back of the siding. It's also where a lot of lower-cost installations cut corners, because these steps take time and don't show up in a driveway photo.
Finish Work
Trim, caulking at the right joints (and no caulking at joints that should be flashed instead), and a final inspection of every corner and penetration — vents, hose bibs, light fixtures — round out the job. This is also where moss resistance starts: a wall with no water traps and good airflow simply grows less moss than one without.
Why We Install Only James Hardie Fiber Cement
We don't carry vinyl, LP SmartSide, primed spruce, cedar, or other fiber cement brands. That's a deliberate standard, not a limited product line we're stuck with. In a climate defined by driving rain, salt air, and long stretches of damp shade, the material matters as much as the installation.
Vinyl expands and contracts with temperature swings and can warp or crack in cold snaps; it also isn't structural, so it relies entirely on what's behind it for real weather protection. Wood and wood-composite products like LP SmartSide need consistent paint maintenance to keep moisture out, and in a wet climate, any lapse in that maintenance schedule opens the door to rot faster than it would in a drier region. Cedar is a beautiful, genuinely durable material when it's maintained on schedule — but that maintenance schedule is real, recurring, and unforgiving of gaps.
James Hardie fiber cement is engineered specifically for this kind of weather. It's non-combustible, it doesn't feed moss and mildew growth the way wood-based products can, and Hardie's HZ5 product line is formulated for exactly the wet, moderate-temperature coastal climate that Aldergrove and the surrounding Fraser Valley and Whatcom County sit in. The factory-applied ColorPlus finish is baked on under controlled conditions, which means better fade and moisture resistance than field-applied paint, and a warranty that stays with the product rather than depending on a homeowner's touch-up schedule. We install it because we've seen what holds up here and what doesn't, and we'd rather stand behind one product system we trust completely than offer a menu of options we know will disappoint some of our customers ten years down the road.
How the Main Options Compare in This Climate
| Material | Moisture Behavior Here | Maintenance Burden | Typical Lifespan |
|---|---|---|---|
| James Hardie fiber cement | Engineered for wet coastal climates; resists moss/rot | Occasional wash; no repainting for many years | 30+ years with proper install |
| Vinyl siding | Sheds surface water but relies on barrier behind it; can warp | Low, but cracks/fading are not repairable | 15-25 years, variable |
| Wood / LP SmartSide | Absorbs moisture without diligent paint maintenance | High — regular repainting/sealing required | Varies widely with upkeep |
| Cedar | Naturally moisture tolerant but needs sealing/staining cycle | High — recurring maintenance schedule | 20-40 years with strict upkeep |
Our Process for Aldergrove Siding Replacement Projects
Every project starts with an on-site look at the home, not a phone estimate. We walk the exterior, check for the warning signs described above, and talk through what we're seeing before any numbers get discussed. From there, our process generally runs:
- Assessment and estimate — a written scope covering tear-off, sheathing repair allowances, flashing details, and the Hardie product and color chosen
- Material staging — ordering and scheduling delivery so the job isn't sitting half-torn-off waiting on product
- Tear-off and inspection — old siding removed, sheathing checked, any rot or damage flagged and discussed with you before covering it back up
- Weather barrier and flashing installation — the part of the job that determines how the wall performs for the next several decades
- Hardie installation — panels or lap siding installed to manufacturer fastening and clearance specs
- Trim, caulking, and final inspection — a walkthrough with you before we call it done
We keep the site clean and protected through the process, particularly around landscaping and driveways, and we communicate on timeline — weather delays happen in this climate, and we'd rather tell you honestly than rush a step that shouldn't be rushed.
What Drives the Cost of a Siding Replacement
Every home is different, but the same handful of factors move the number up or down on most projects. Broad ranges only — a firm number always comes from an actual on-site look.
| Factor | Why It Matters |
|---|---|
| Home size and wall complexity | More corners, gables, and dormers mean more cutting, flashing, and labor time |
| Condition of existing sheathing | Hidden rot found during tear-off adds repair scope that couldn't be priced sight unseen |
| Siding profile and accessories | Lap siding, panel systems, trim boards, and soffit work all price differently |
| Color and finish selection | Factory ColorPlus finishes vs. field painting affect both cost and long-term maintenance |
| Access and site conditions | Multi-story walls, tight lot lines, or limited equipment access add time |
A Checklist Before You Hire Anyone for This Job
- Ask what's actually happening behind the siding, not just what color it will be — a good contractor talks about flashing and water barriers unprompted
- Confirm they carry proper liability insurance and any required licensing for exterior work
- Ask specifically how they handle sheathing repair if rot is found during tear-off
- Get the fastening and clearance details in writing, not just "we'll install per manufacturer spec"
- Ask how they handle moss and algae-prone areas of the home differently, if at all
- Request references or examples of completed work in this same climate zone
- Make sure the warranty terms — both material and labor — are explained clearly before you sign
Why a Crew That Already Works in Aldergrove, BC Matters
Aldergrove sits right at the border, close enough to Lynden that a crew based here can work both sides of the line without treating either one as an afterthought. That matters in a few concrete ways. First, it means familiarity with how local building permit and inspection processes work on the BC side, rather than a contractor guessing at requirements they don't normally deal with. Second, it means scheduling that accounts for border crossing times when material deliveries or crew movement are involved, so a project doesn't stall waiting on logistics nobody planned for.
Just as important is climate familiarity. A crew that works this specific corridor — from Lynden through Aldergrove and the surrounding Fraser Valley and Whatcom County communities — has seen how this weather actually behaves on real homes: which walls take the worst of the driving rain, which north-facing corners grow moss first, where flashing tends to get skipped by installers who don't usually work in this kind of moisture. That's the kind of judgment that doesn't come from a manual. It comes from doing the work here, repeatedly, and paying attention to how it holds up years later.
If your siding is showing its age or you're just planning ahead, we're happy to take a look and walk you through what we're seeing — no pressure, no obligation. Fill out the form below for a free estimate on your Aldergrove siding replacement.