 Lynden Siding
 Building New Near Sumas: Why Window Installation Sequencing Matters
If you're building new in or around Sumas, the windows going into that framed opening aren't just a product decision — they're a sequencing decision. New-construction windows get installed as part of the building envelope itself, tied into the weather-resistive barrier, the flashing plan, and eventually the siding. Get that sequence wrong and you won't see a problem on move-in day. You'll see it two or three winters later, when driving rain off Sumas Mountain and the Nooksack valley starts finding the gaps nobody sealed correctly the first time.
We install siding and windows together on new builds throughout Whatcom County, including Sumas, and we treat the window opening as one continuous system — not a separate trade that shows up, sets glass, and leaves the flashing details for whoever installs siding next.
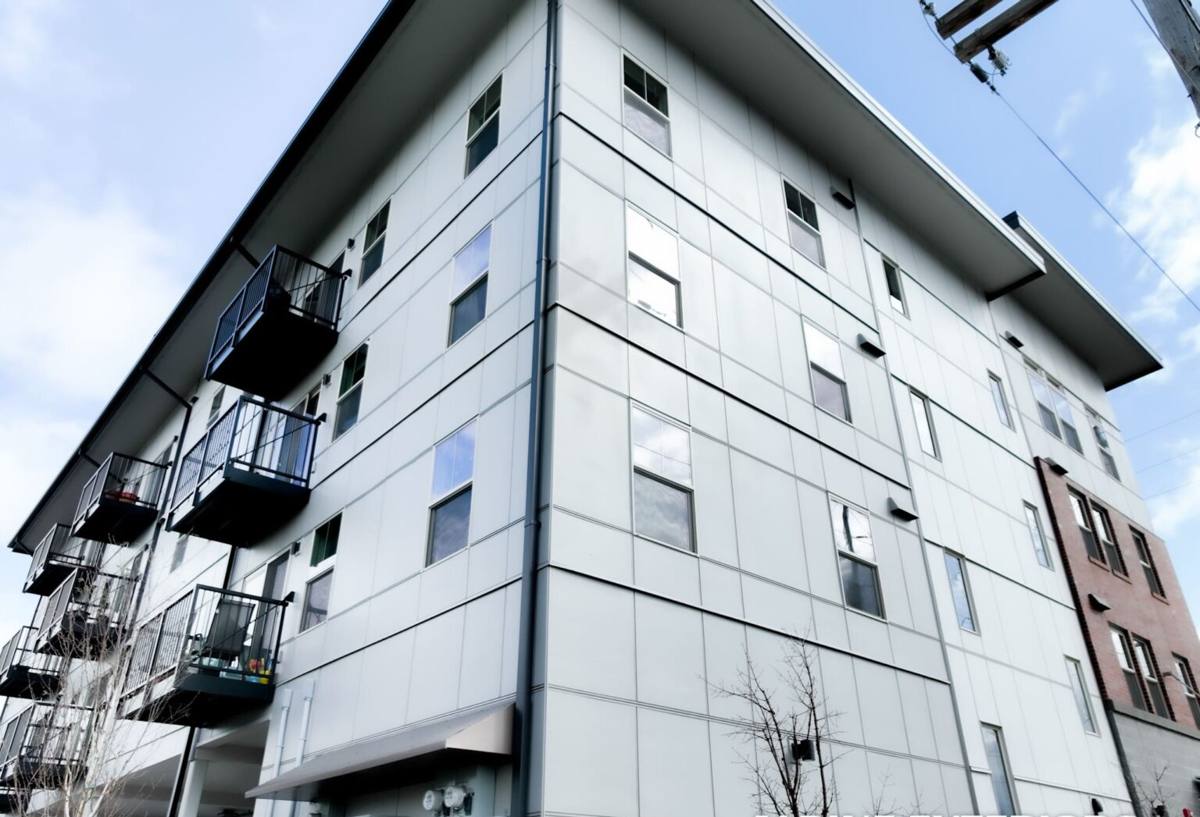
What "New-Construction" Windows Actually Means
New-construction windows are built with a nailing flange (also called a nail fin) around the perimeter of the frame. That flange gets fastened directly to the wall sheathing before the weather-resistive barrier and siding go on, which lets the whole assembly be flashed in layers — sheathing, sill pan, window, tape, house wrap — so water is shed outward at every level.
This is different from replacement windows, which are built without a flange and get inserted into an existing opening after the siding is already in place. Replacement windows work around what's already there. New-construction windows get installed as the wall is being built, which is actually the easier scenario to get right — if the crew doing it understands the flashing order and doesn't skip steps to save time.
Why This Matters More on a New Build
- There's no existing siding or trim to work around, so there's no excuse for a rushed or partial flashing job
- Mistakes made now get sealed behind siding and are expensive to find later
- The window and siding installer are often coordinating on the same wall at the same time — communication matters
- Inspectors are looking at this stage, so it has to be done right the first time, not patched after the fact
What Sumas-Area Homes Need From Their Windows
Whatcom County weather isn't dramatic, but it's persistent — and persistent is what wears down a poorly flashed window. Homes in this part of the county deal with salt-laden air moving in off the Sound, long stretches of driving rain rather than short downpours, and a moss season that runs most of the year on north-facing and shaded walls. None of that is unusual for western Washington, but it does mean a new-construction window install has to assume water will hit that wall repeatedly, for months at a time, and has to be built to shed it every time.
Practically, that means:
- Sill pans are not optional. Any water that gets past the glazing or the flange needs a sloped, sealed path back out — not a flat sill where it can pool against the framing.
- Head flashing has to lap correctly over the weather-resistive barrier, so water running down the wall is directed over the window, not behind it.
- Fastener and tape compatibility matters. Some tapes and sealants don't bond well long-term in cold, damp conditions — we use products rated for this climate, not just whatever's fastest to apply.
- Moss and organic buildup on shaded elevations holds moisture against trim and siding longer than a sunny wall would, so those details need to be tighter, not looser.
The Anatomy of a Correct New-Construction Window Install
There's a specific order of operations for a flanged window, and skipping or reversing steps is the single most common cause of window-related water intrusion we get called to fix on older homes. On a new build, there's no reason to get this wrong — but it does require a crew that won't shortcut it under schedule pressure.
| Step | What Happens | Why It's There |
|---|---|---|
| 1. Sheathing check | Rough opening confirmed square, sized correctly, sheathing intact | A window can't seal correctly in an out-of-square or damaged opening |
| 2. Sill pan flashing | Self-adhered or formed pan installed at the base of the opening, sloped outward | Gives any water that gets past the window a way out, not a place to sit |
| 3. Window set | Window set in the opening, leveled, shimmed, and fastened through the flange | Correct reveal and level prevent operational and sealing problems later |
| 4. Flange taping | Sides taped first, then head, in a shingle-lap pattern | Directs water down and out at every seam, never up and in |
| 5. WRB integration | House wrap cut and lapped over the flashing, sealed with compatible tape | Ties the window into the rest of the wall's drainage plane |
| 6. Head flashing | Rigid flashing installed above the window, under the WRB | Sheds bulk water before it ever reaches the window |
| 7. Interior air seal | Low-expansion foam or backer rod and sealant around the interior frame gap | Stops air leakage and condensation risk without over-compressing the frame |
Choosing Windows for a New-Construction Opening
Most new builds in this area land on vinyl or fiberglass frames, and the right choice usually comes down to budget, the home's design, and how much movement the frame will see over its life. We'll talk through actual product options and pricing once we know your window schedule, but here's the general trade-off:
| Frame Material | Typical Strengths | Trade-Offs |
|---|---|---|
| Vinyl | Lower cost, low maintenance, good energy performance | Frame is less rigid over very large sizes; color options are more limited |
| Fiberglass | Very stable in temperature swings, holds paint well, strong on large openings | Higher upfront cost than vinyl |
| Wood-clad | Traditional interior look, warm appearance | Exterior cladding still needs the same flashing discipline; more maintenance if exposed |
Whichever frame material you choose, the installation details above matter more to long-term performance than the brand name on the sticker. A well-flashed mid-range window will outperform a premium window installed carelessly, every time.
How We Coordinate Window and Siding Installation
Because we do both trades, we plan the window install and the siding install as one sequence rather than handing off a half-finished wall between crews. That looks like:
- Reviewing the window schedule and rough openings against the plans before anything ships, catching sizing issues before they become framing problems
- Installing sill pans and flashing to a consistent standard across every opening on the house — not just the ones that are easy to reach
- Setting windows plumb, level, and square, with the reveal siding will actually need
- Integrating the WRB and flashing tape with the siding's drainage plane before the first course of siding ever goes up
- Walking the exterior with the builder or homeowner before siding closes everything in, so any flashing detail can still be inspected and photographed
Mistakes We See — and Avoid
Most window leaks we're called out to diagnose on existing homes trace back to one of a short list of installation shortcuts. On a new build, avoiding these is entirely a matter of process discipline:
- Skipping the sill pan or using caulk alone as a substitute for it
- Taping the head flange before the side flanges, which reverses the shingle-lap and traps water
- Fastening only at the corners of the flange instead of the full nailing pattern, leaving the frame to flex
- Using incompatible tape or sealant that fails to bond in cold, damp application conditions
- Closing in the WRB and siding before flashing has been checked, so problems aren't visible until they've already caused damage
- Over-shimming or racking the frame during set, which binds hardware and stresses seals over time
Why a Local Crew That Already Works Sumas Matters
Sumas is a small community, and a crew that regularly works this part of Whatcom County knows the practical realities that don't show up on a set of plans — how exposed a given lot is, which walls take the worst of the driving rain, and how quickly moss and moisture reclaim a shaded elevation if the details underneath aren't tight. That's not a substitute for following code and manufacturer instructions, but it does mean we're not guessing at how this climate treats a wall over time — we're building for what we've already seen happen to walls near yours.
We also work directly with local builders and are used to coordinating around inspection timing, so window flashing is ready to be seen — not covered up — when it needs to be.
Cost and Timeline Factors
Every new-construction window job is priced around the specifics of the build, but the main variables are consistent from house to house:
| Factor | How It Affects Cost or Timeline |
|---|---|
| Number and size of openings | More openings and larger units mean more flashing detail and labor time |
| Frame material | Vinyl, fiberglass, and wood-clad carry different material costs |
| Wall exposure | Highly exposed elevations may warrant extra flashing measures given local rain and wind patterns |
| Coordination with framing/siding schedule | Installing windows and siding as one continuous sequence generally saves time versus separate trade visits |
| Access and site conditions | Scaffolding or lift needs on taller walls affect scheduling |
If you're planning a new build or addition in the Sumas area and want windows installed correctly from the first flange to the last course of siding, we're happy to walk the plans with you and put together a free, no-pressure estimate — just fill out the form below.